Industry Insights
Compass Campus: Nick's Forging Day
At Compass Creative we make brands for people who work with their hands but it’s not often we get to do hands-on work ourselves. For my Compass Campus day I got my hands dirty hammering steel and learning the basics of one of the oldest trades there is: blacksmithing.
Conveniently for me, I happen to have a blacksmith in the family. Meet Daniel Linkenheld of Forged Link.
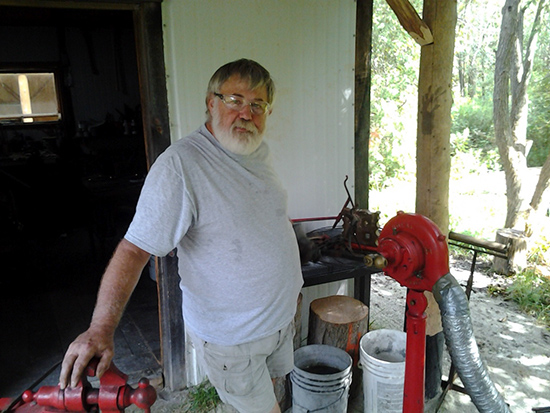
Daniel is a master bladesmith and artist blacksmith living in Hanover, Ontario and, most importantly, my wife’s uncle. Daniel gave up his Friday to patiently teach me the basics of the trade and help me through the steps to make a letter opener knife with a pineapple twist handle.
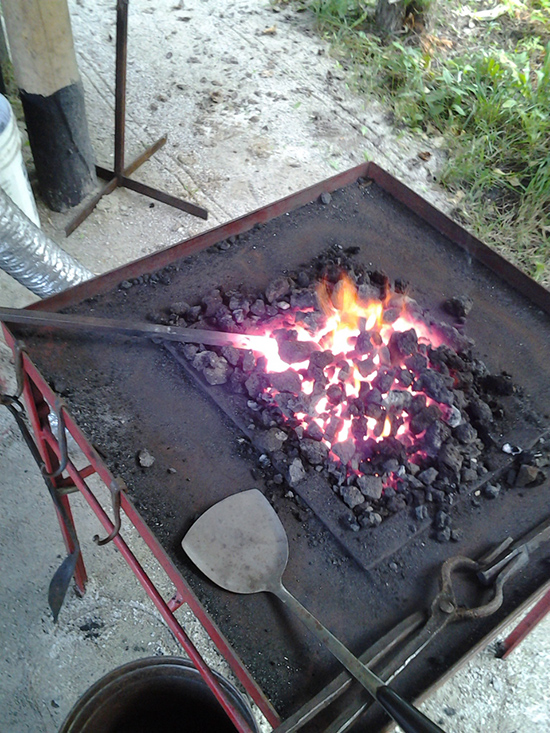
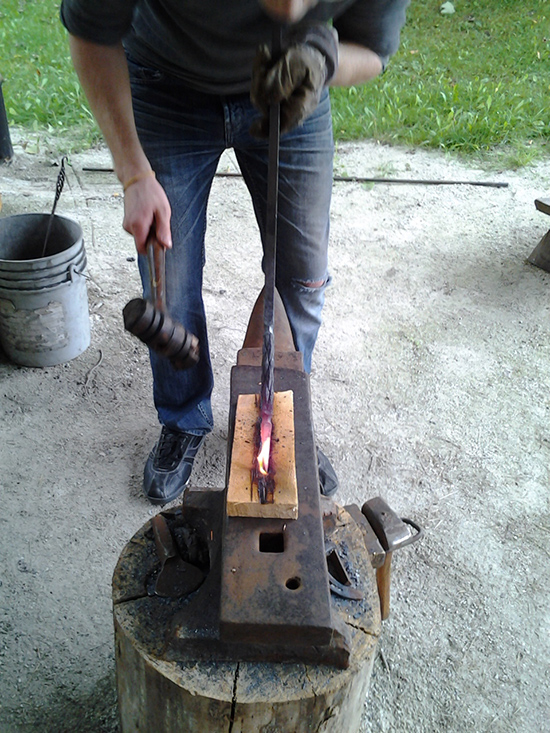
We started with a lesson on how to properly fire up a forge and the nature of burning coal, and when the forge was ready, we put a ½” x ½” rod of low carbon steel into the heat. Within minutes we were able to extract the rod and hammer what would eventually be the handle into a long pyramid-shaped point. This was right about the point that I began my new appreciation for the mastery of hammer control.
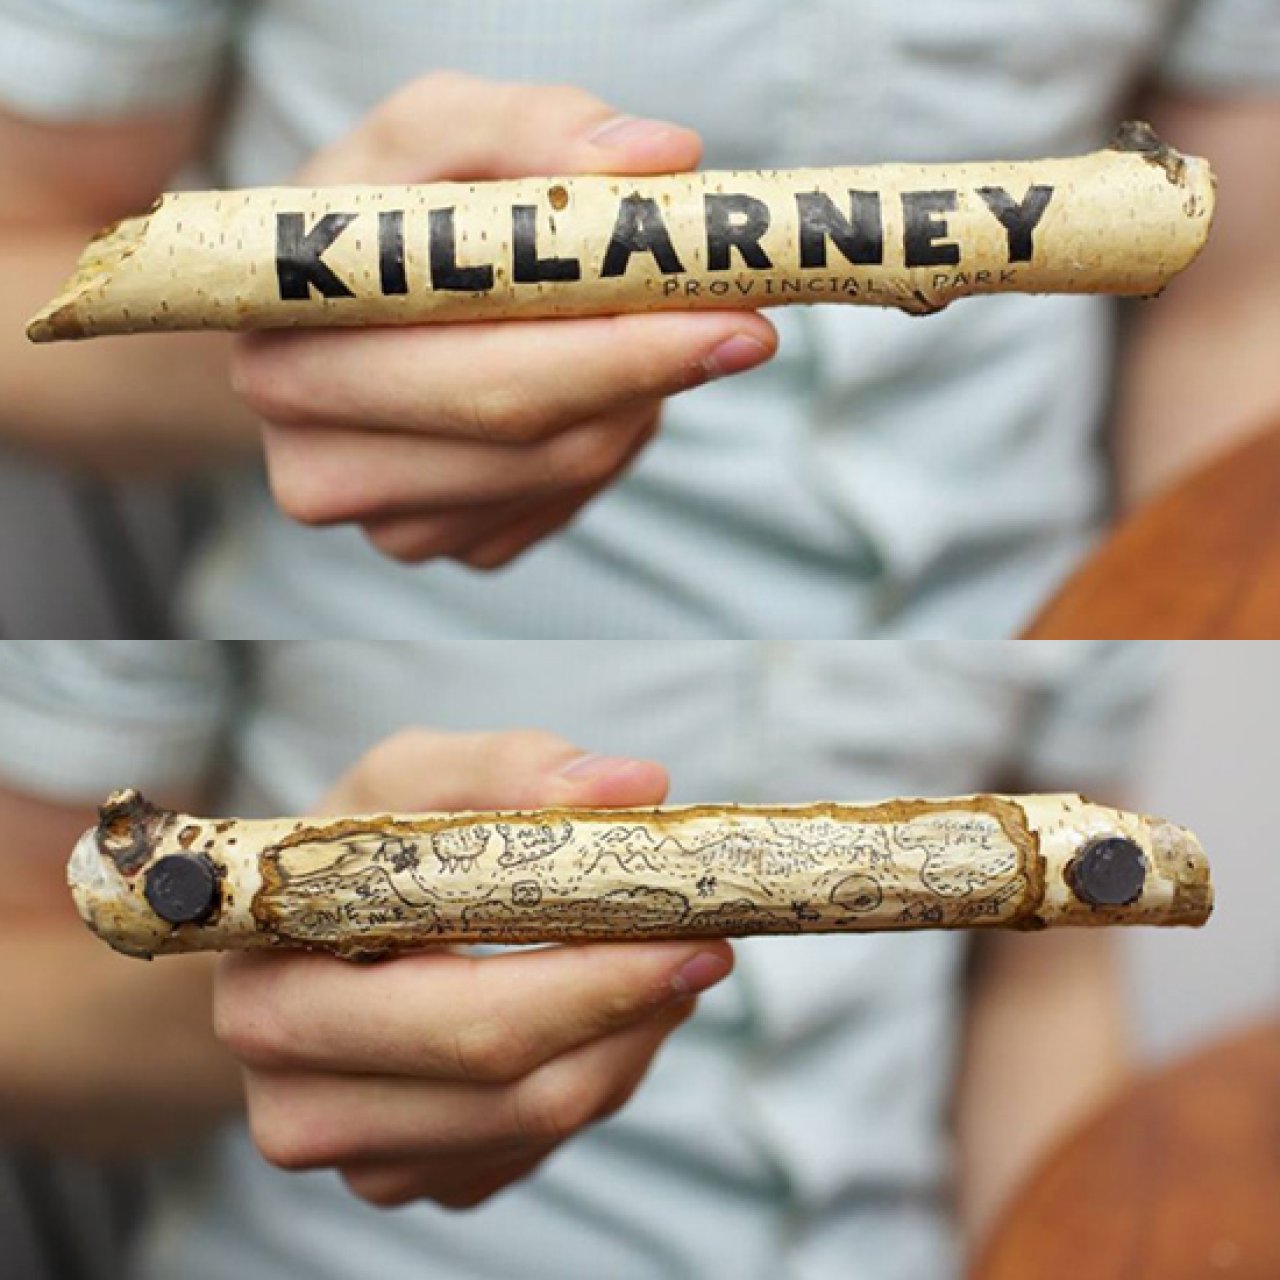
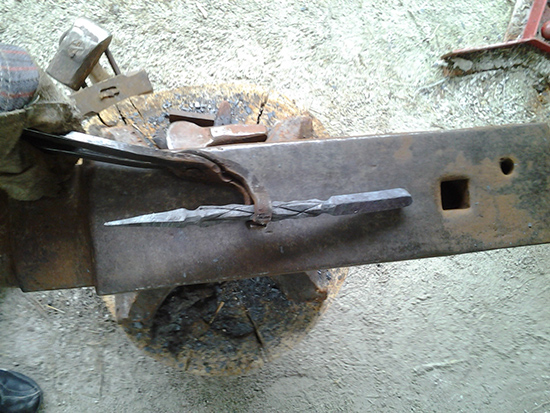
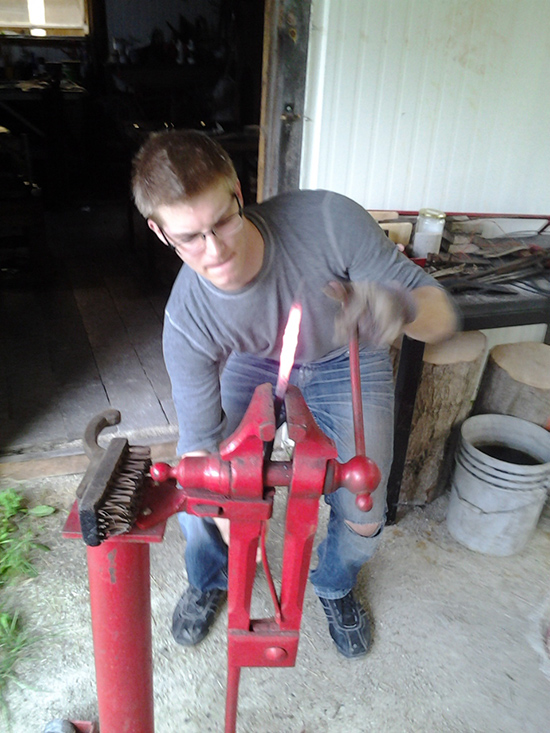
We then moved to the twisted section of the handle, marked out its length and hammered groove lines down the four sides. The piece was then put into the vice for a full 360° twist. The twist was hammered back down to renew the square and to re-make the lines down the centre of the four new sides. Back in the vice, we gave it another 180° twist in the opposite direction to create the “pineapple” look. To finish off the effect, we hammered in curved grooves on either side of the twists. The result was a great-looking handle!
Now, this in itself doesn’t sound very hard but there is a lot to consider. With each step you have to heat the steel up to the right temperature based only on its colour and appearance. You can’t put it in too deep or too long or you will burn the steel, but you have to put it in deep enough and long enough to get it to a state of flux (1414°F) to be able to work it. You also need to position the piece in the fire so that you heat up the exact section you need to work while rotating the steel at all times to heat evenly. If you get all this right, you can take it out and you have 20–30 seconds to do what you need to before having to put it back in the fire again. Now add a rookie to the mix with inconsistent hammer strikes and it turns out to be a little trickier than one would think. And we hadn’t even gotten to the hard stuff.
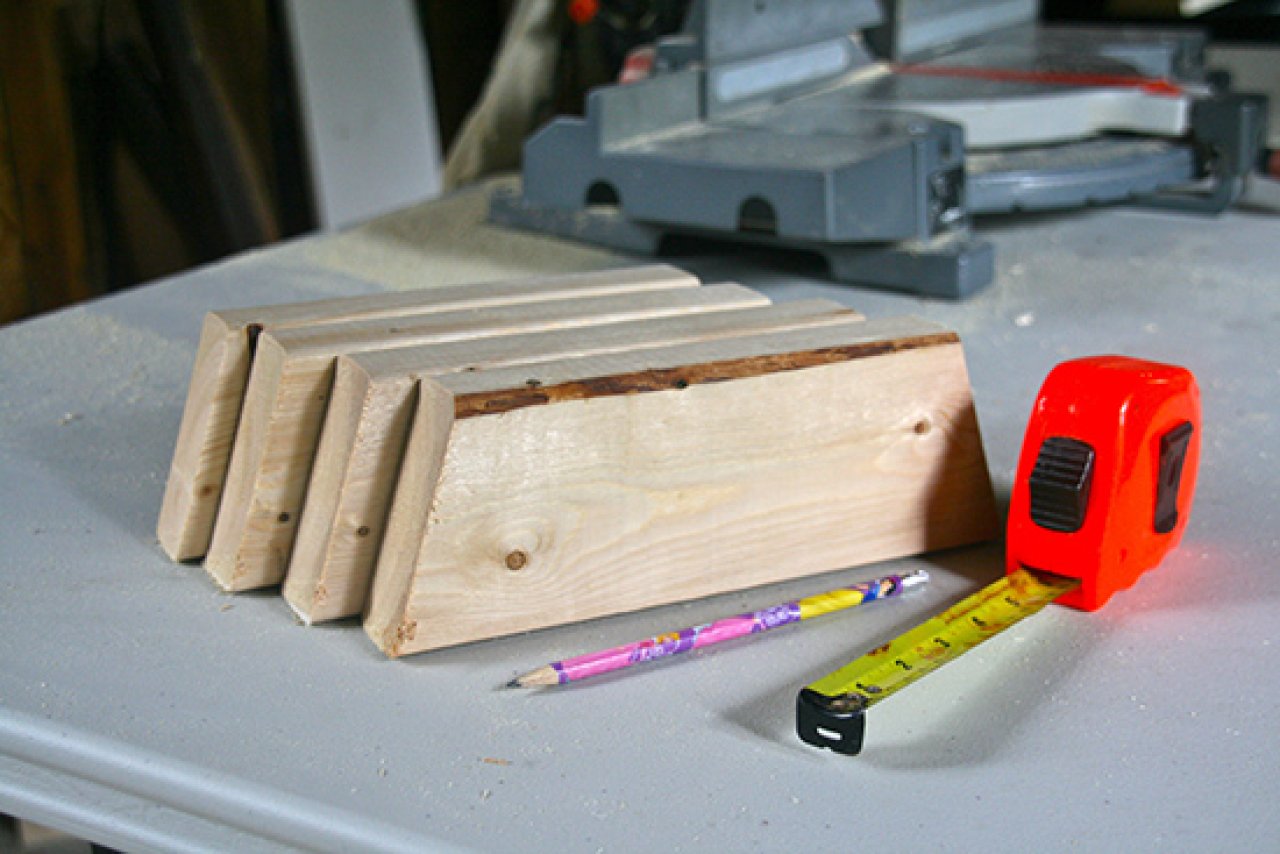
Making the blade was by far the most challenging. You have to peen* the length out while carefully controlling the width, thickness and straightness of the blade to form the desired shape. It is truly an art form that takes a skilled tradesman to master. After almost an hour of learning (which probably appeared to be random hammering) I got the blade to a place where I was happy. We gave the handle end a quick final twist and then headed off to the shop to grind everything down, form the blade edge and finish it off.
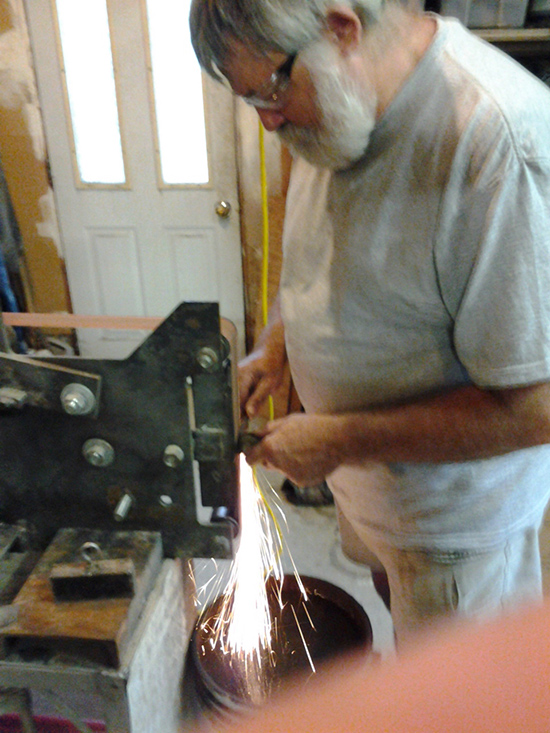
Well, no surprises here – grinding is no easy task either. In fact, each of the finishing processes needed a great deal of skill to master. After I succeeded in breaking off the tip and burning the edge, Daniel kindly stepped in and rescued the knife. With his finishing touches, the result was this impressive knife.
Blacksmithing is a dying art and that is a shame. Because after a day of hammering I realized some parallels to life that can serve us all, whether you are in the trades, sit at a computer or stay home with a house full of kids.
To be successful at blacksmithing a great amount of skill is needed to be sure, but most importantly, it requires patience and an ability to adapt. With each strike of the hammer you have to look and assess what you’ve done. Sometimes it’s what you wanted and sometimes it isn’t. It is very easy to think that, with such an unforgiving material, once you hit it wrong and it dents or bends in an unintended way that the effects are permanent; that your product is ruined. It’s easy to get frustrated. It’s easy to give up. To be truly successful at smithing you have to know how to adapt to what comes, how to take the time, work with the unexpected and, at times, take a step back and figure out how to hammer things back to where you want. You won’t always get the outcome you expected but often, with a little skill, patience and perseverance, you can end up with a product that is even better than you anticipated.

*peen v. to enlarge, straighten or smooth; to strengthen with light hammering. A word dating back to the heyday of blacksmithing, c.1500. Nice one, Nick. –Ed.
October 13, 2013